
Battle of Britain
To see an enlarged version of an image, click on it. The larger image will open in a new window. Close the window to return to this gallery page.
Enemy Coast Ahead
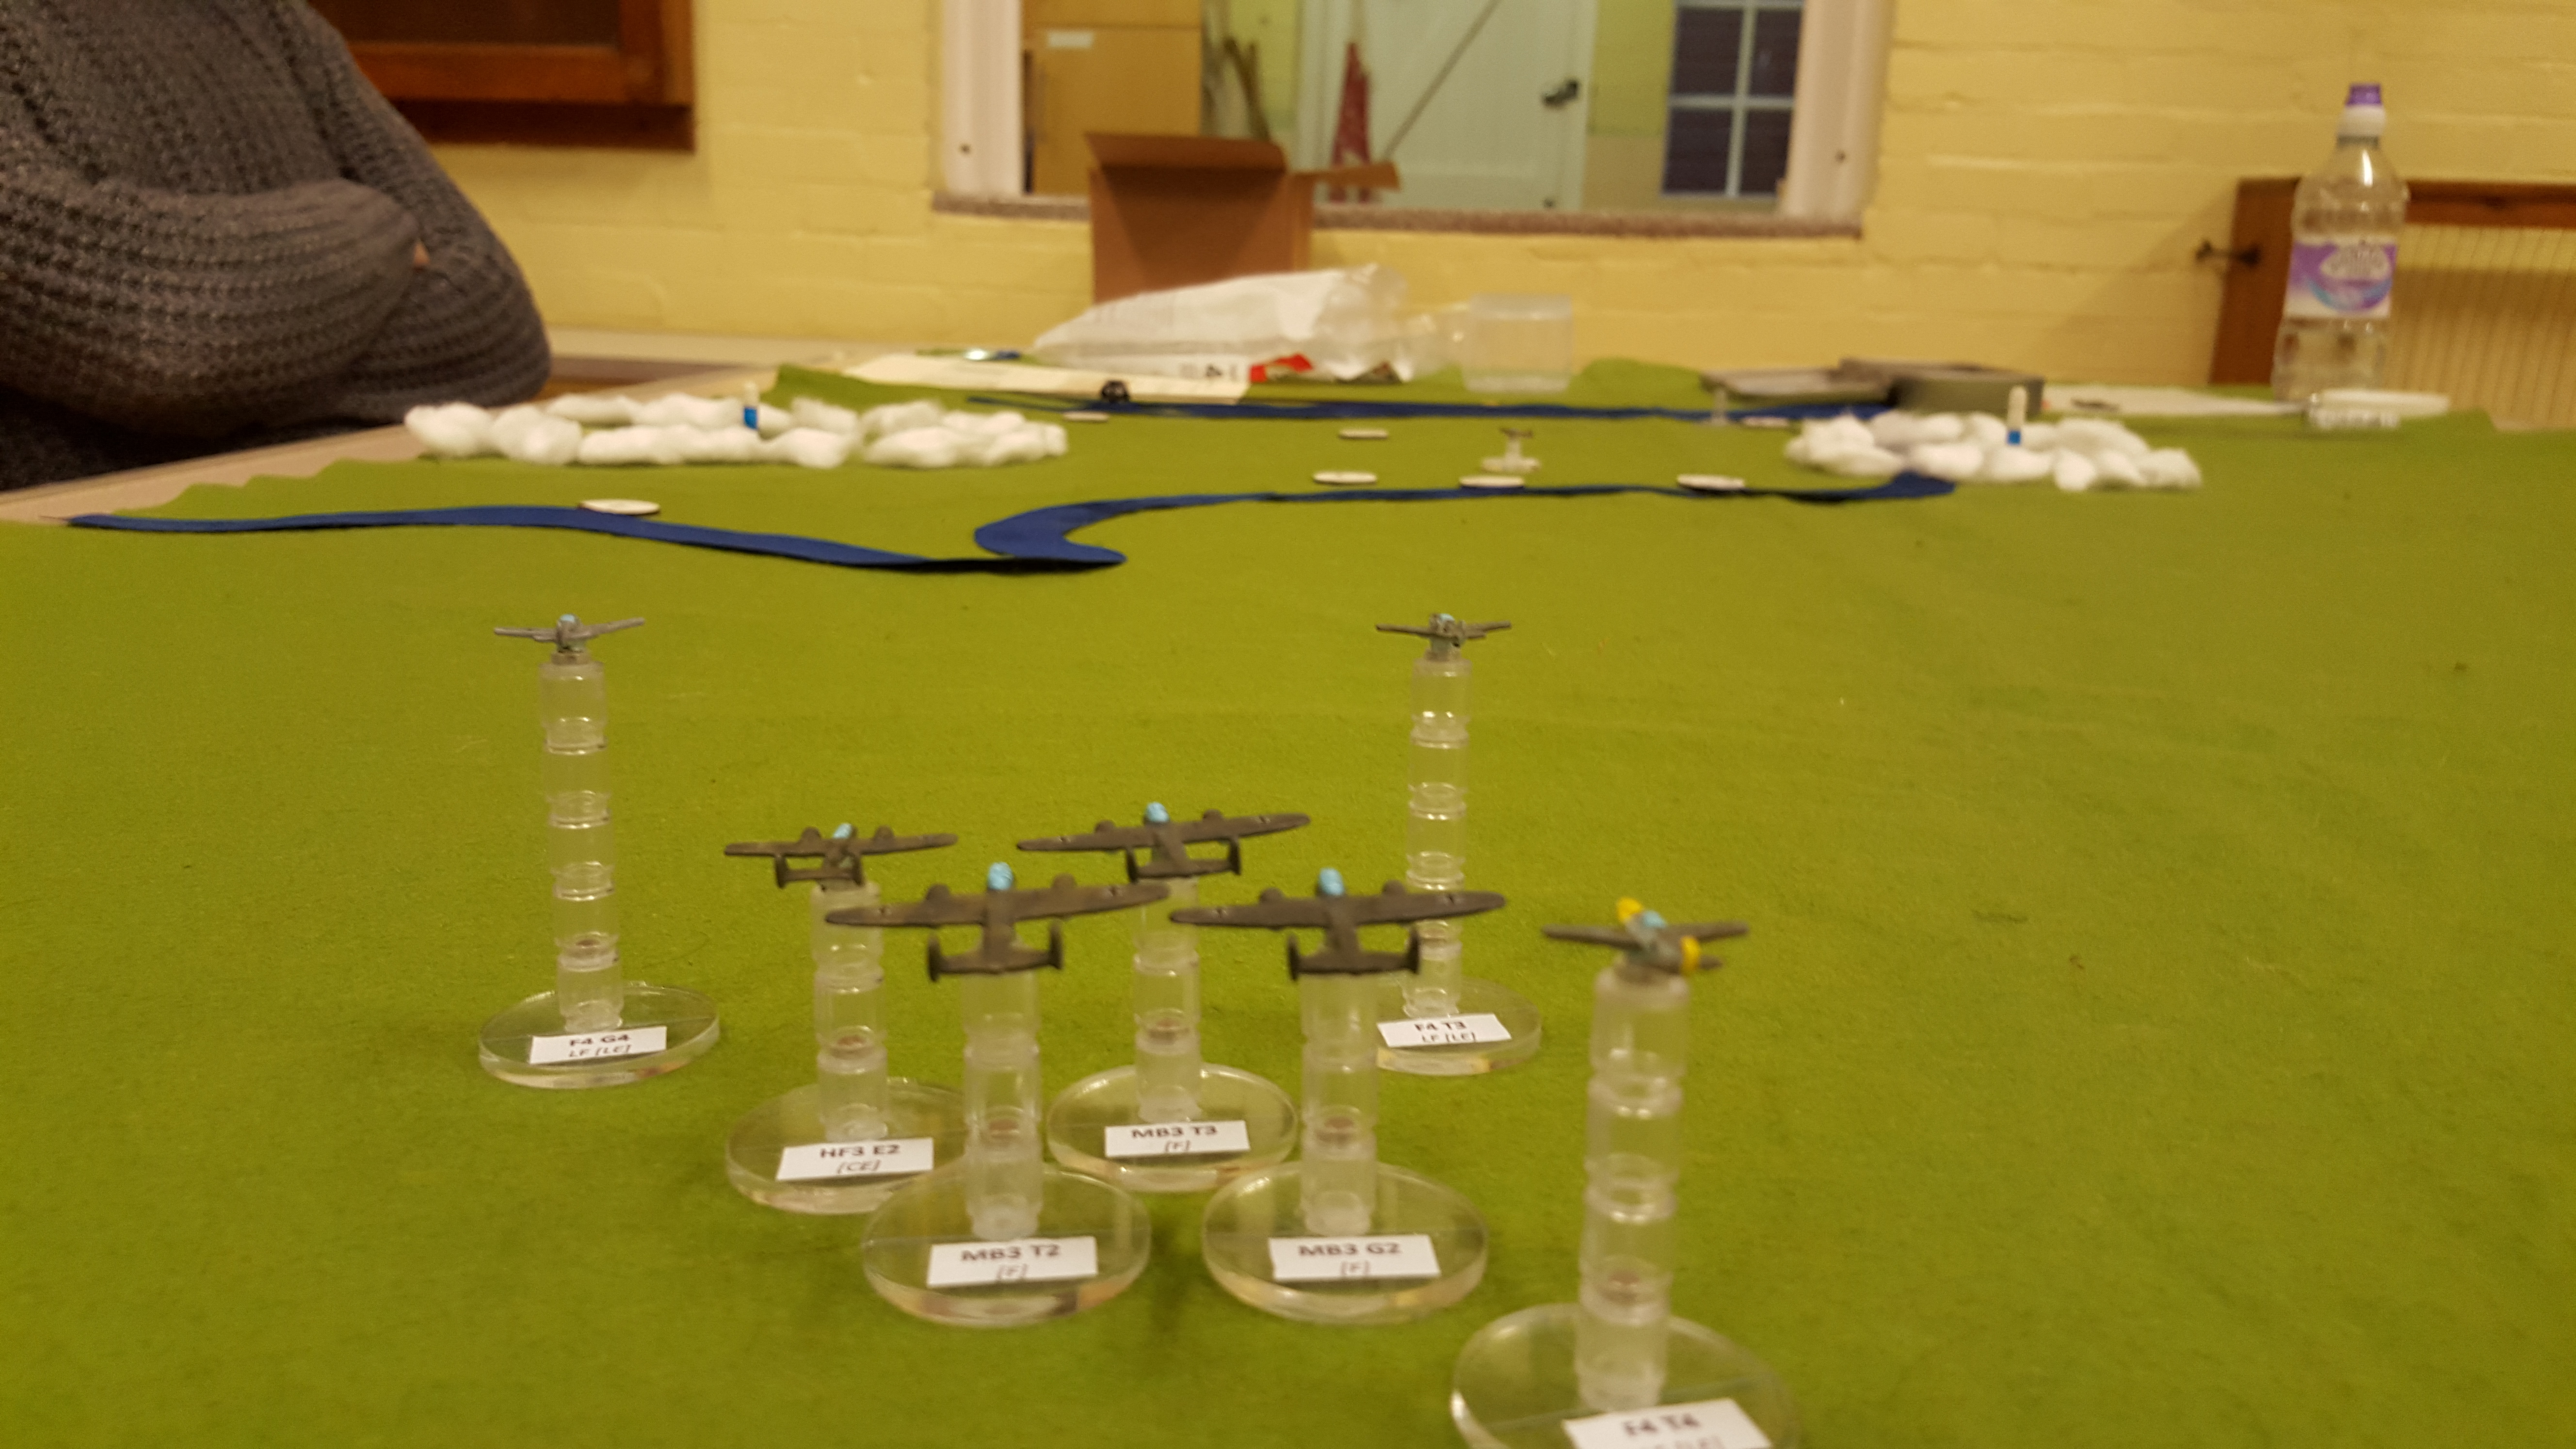
We see a Gruppe of Dornier Do.17s, close escorted by Me.110s, with a Gruppe of Me.109s flying loose escort 5,000 ft above the bomber stream, droning across the Channel, approaching landfall at Dungeness. Luckily, there is some cloud just inland to the left to hide in...
Fighter Command Ponders
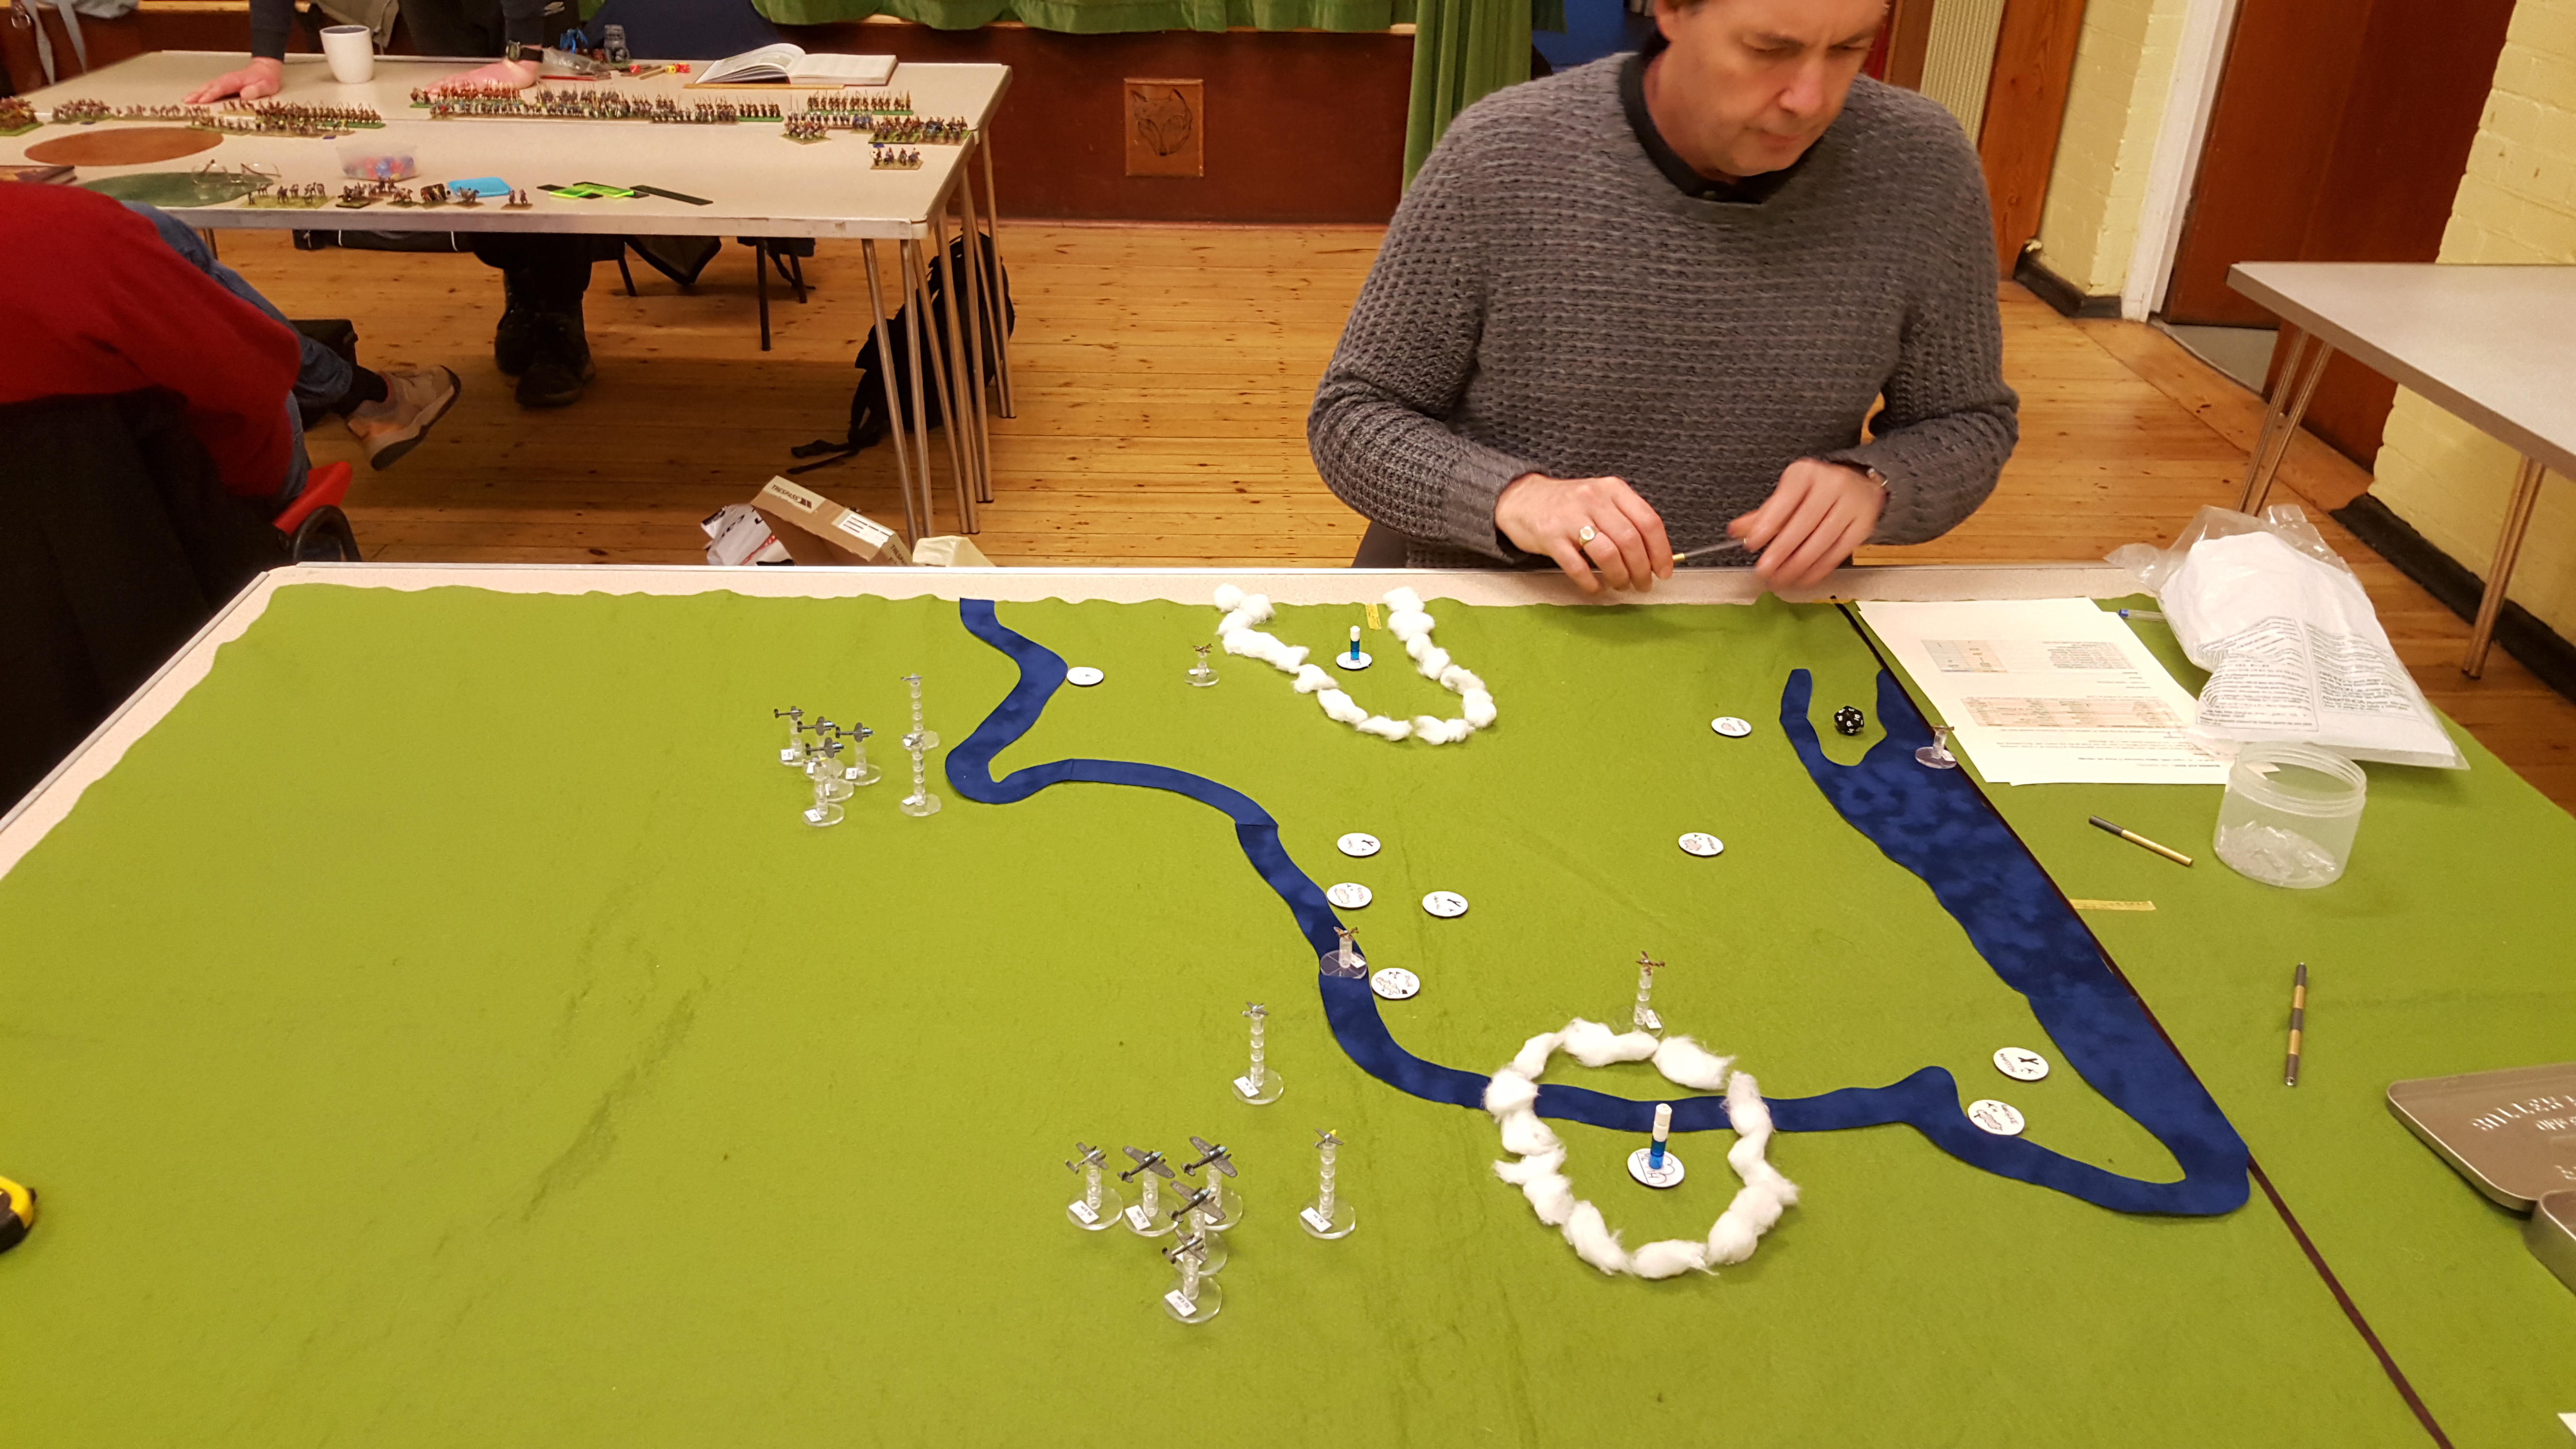
We see the strategic situation, as a further raid of Heinkel He.111s comes across from the Pas de Calais, with Me.109s sweeping forward to engage the Spitfires crossing over the coast by Dover to meet them. AVM Pringle, wearing his flying jumper in case he needs to spring into his personal Hurricane to lend a hand, looks suitably grim.
Dorniers over Faversham
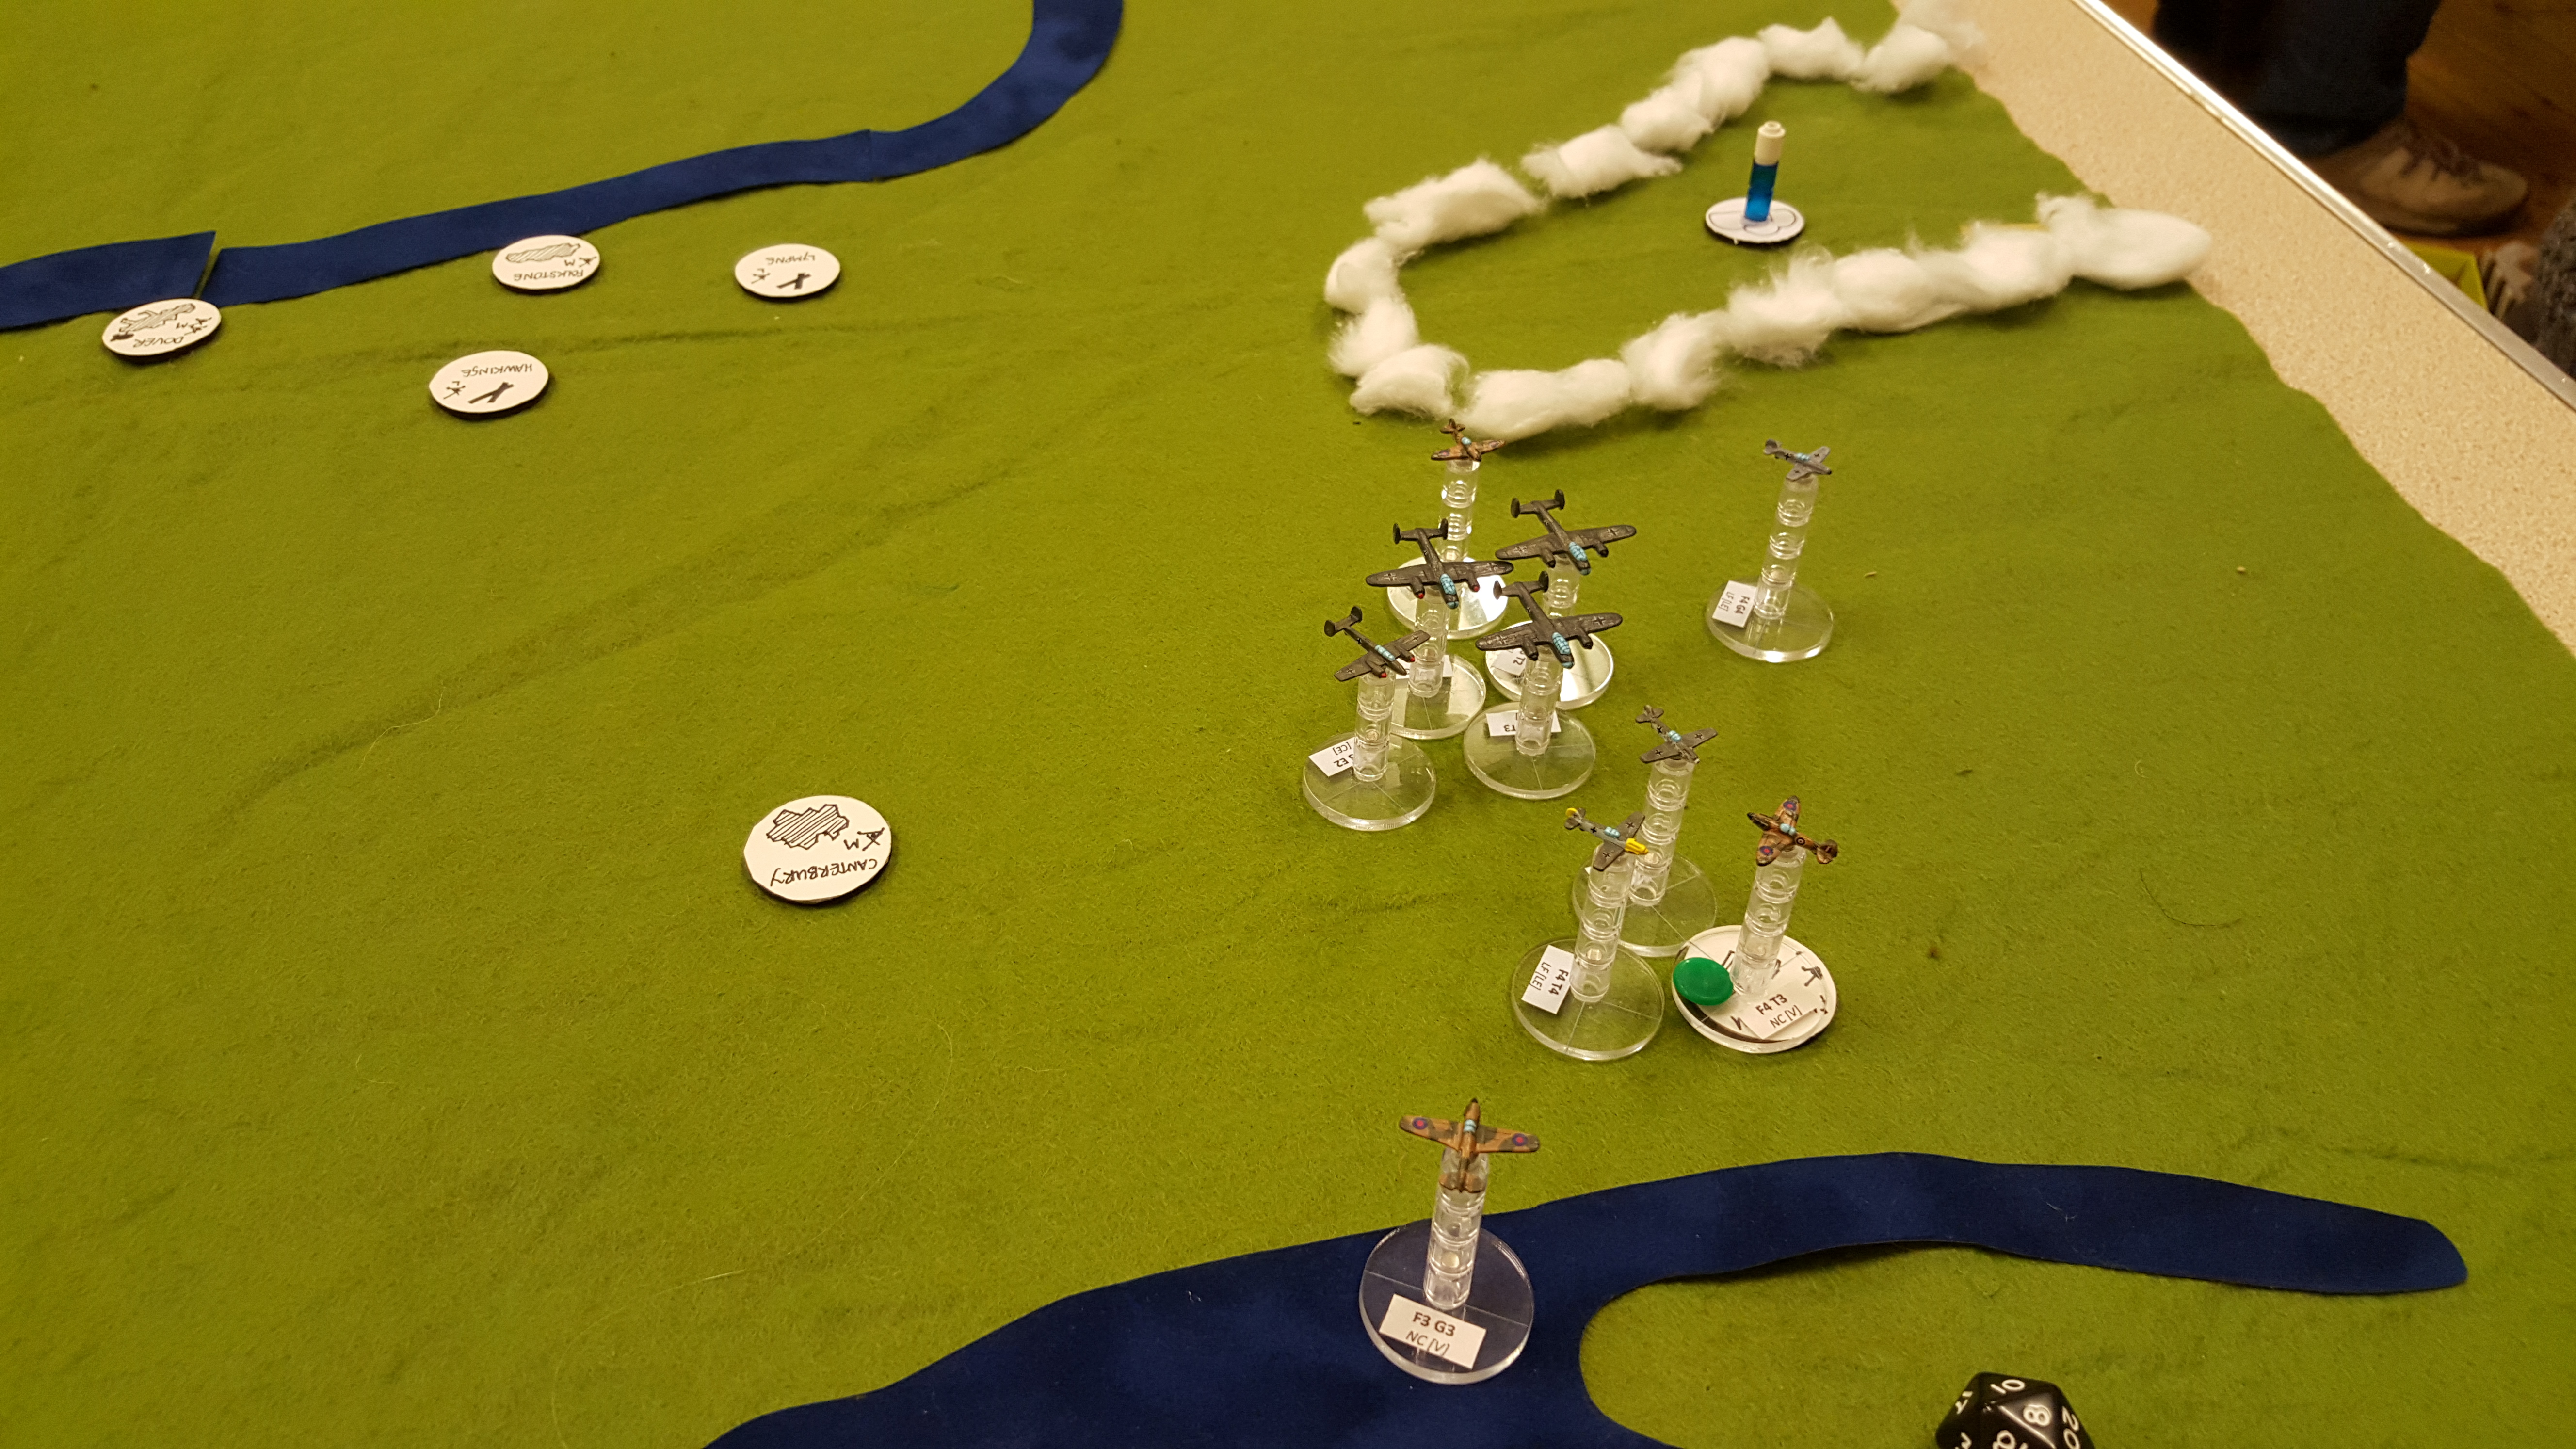
Shows the bombers commencing their bomb run, while an altitude level above them, fighters tangle in a dogfight. The Heinkels have already bombed Canterbury, with few losses, but the Dorniers have a squadron of Spitfires on their tail, and Hurricanes approaching over the Thames estuary.
In the end, the raids, by some 140 German planes, were successful, partly due to the brilliant Luftwaffe strategy (which I stole from the previous game's effort by Dave T- Knight's Cross to that man!), and also to the paucity of resources 11 Group had to put in the air; only 8 squadrons.